
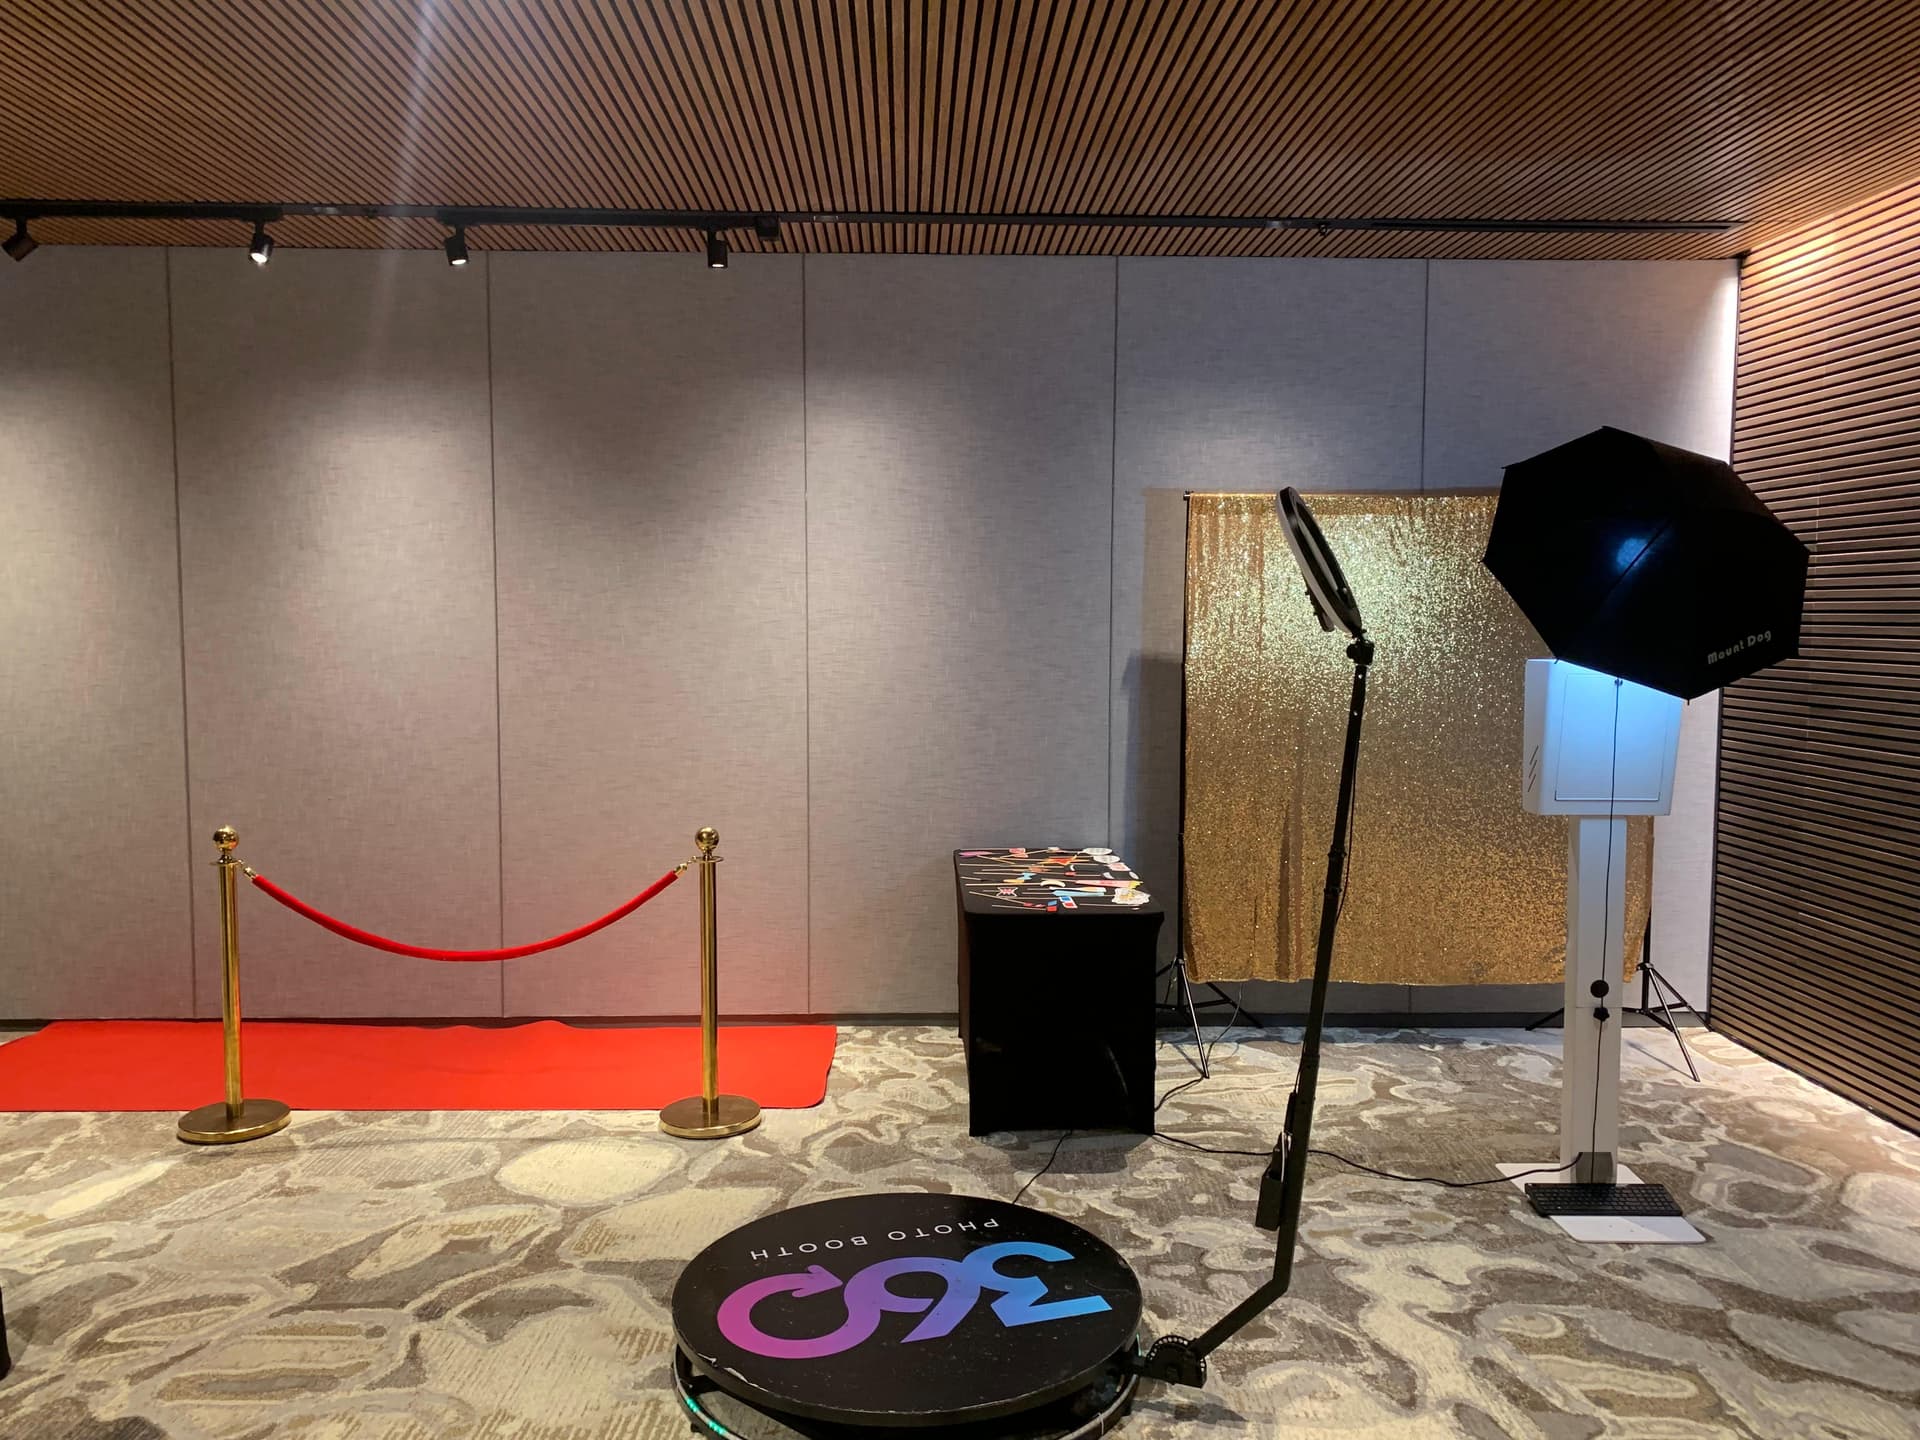
A DIY photo booth works best treated as a small piece of event production, not a craft project. The cheap setups that work share three things: a fixed camera position, controlled light, and a clear lane so guests are not backing into the cake table.
1. The Ribbon Wall Backdrop
Hang a dowel between two light stands and tie on long strips of ribbon, lace, or streamers. The texture breaks up flat color and moves in a breeze. Build it eight feet tall so a group of four fits.
2. The Ring Light Stand
Light matters more than the camera. Put a phone on a sturdy tripod with an LED ring light about five feet up, slightly above eye level and tilted down a few degrees. That angle flatters almost everyone.
3. Chalkboard Signs and Speech Bubbles
Skip the plastic prop bin. Mini chalkboards and blank speech bubble signs let guests write their own jokes and messages. They photograph better than novelty glasses.
4. A Fabric Backdrop on a Tension Rod
One sheet of matte fabric in a solid mid tone is the safest backdrop there is. Steam it first, because wrinkles catch light and show up in every frame. Skip pure white.
5. A Balloon Garland Corner
Build the garland on fishing line and tape it up in an arc that opens toward the camera. Keep balloons out of the center of the frame at head height.
6. An Instant Camera and a Guest Book
Set out instant film, a glue stick, and a scrapbook. Guests shoot, tape the print in, and write a line underneath. Budget one and a half prints per guest.
7. A Tablet Running a Booth App
Free booth apps turn a tablet into a countdown camera with a four shot sequence. Lock it in a case, silence notifications, and use guided access so nobody wanders into your email.
8. A Giant Empty Frame
A large picture frame with the backing removed gives guests something to hold and tells them where to stand. It solves the awkward first ten seconds.
9. A Fairy Light Curtain
Warm white string lights behind a sheer curtain blur into soft circles when the camera sits close. Use them as background only, not as your light source.
10. A Shared Album QR Code
Make a shared cloud album, generate a QR code, print it large, and tape it at eye level beside the booth. Without it, the photos sit on one phone forever.
Where DIY Booths Fall Apart: Lighting
Two problems ruin more homemade booths than everything else, and the first is light. Ceiling light comes from straight above, dropping shadows into eye sockets and under chins. Phone flash flattens faces and blows out whoever stands closest. One ring light struggles in a large room after sunset, and with four people in frame the two on the ends fall into shadow. Use two lights at roughly 45 degrees on either side of the camera, kill the overheads nearby, and test at the hour your event runs.
The Other Failure Point: Printing
A dye sublimation printer makes a photo in under a minute. A normal inkjet on borderless photo paper takes two to three, so a line of eight becomes a twenty minute wait. Paper jams. Cartridges run dry at 10 p.m. Someone babysits the machine instead of enjoying the party. If prints matter, treat it as one person's job all night, or drop printing and use the shared album.
Space and Power Checklist
- About 8 by 8 feet of clear floor, plus room behind the camera for a line:
- A corner that is not on the path to the restrooms or the bar:
- Two grounded outlets in reach, or a heavy duty extension cord taped down flat:
- Backdrop height near 8 feet so heads are not cropped by the top edge:
- One person assigned to reset props every half hour:
A DIY booth suits a backyard party of thirty where the photos are a bonus. It gets harder as the guest count climbs, since a booth serving 100 guests across four hours runs almost continuously and nobody volunteers for that twice. If lighting and printing are the parts you cannot solve, that is what a rental covers. Our Digital Photo Booth starts at $300 for 2 hours with QR and text sharing, and the Open Air Photo Booth with instant 2x6 prints starts at $400 for 2 hours, both including delivery, setup, teardown and an on-site attendant.